The Most Famous Peak Nobody Knows
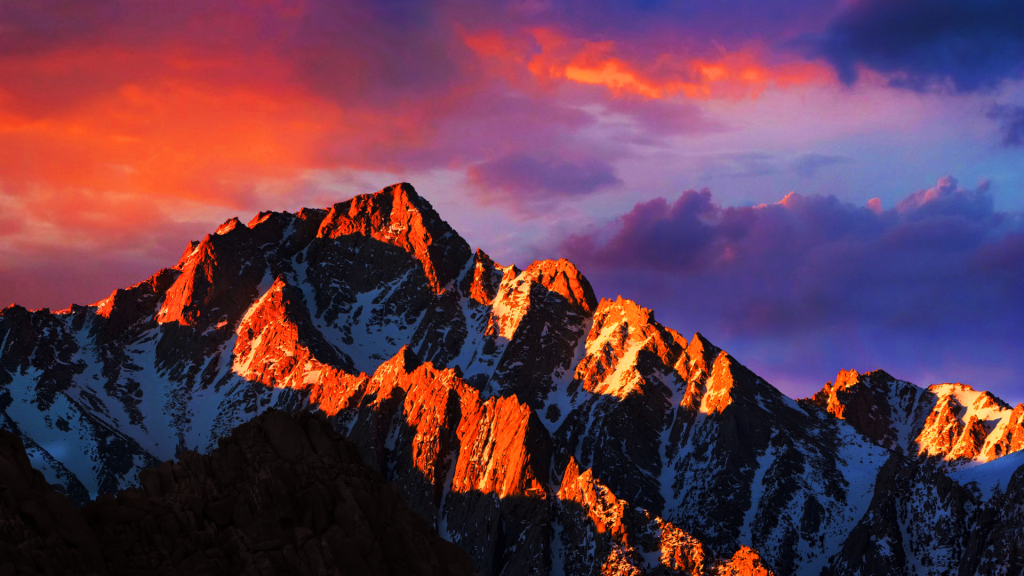
If you’re reading this, you have probably seen Lone Pine Peak. I first saw Lone Pine Peak a few years ago when OS High Sierra came out, and I immediately knew that I needed to climb that peak, whatever it was. The right hand skyline of the peak is a maze of towers of bulges that creates an incredibly long and complex route rising out of Owens Valley in the Eastern Sierra. Despite this route’s 5.5 rating, it has a reputation for benighting (forcing an overnight on route) climbers, but its descent was really the part that screwed parties up, often costing people an extra day and a lot of gear left for rappelling. The technical section climbs 1500 ft vertically (and in reality much more because of all the ups and downs). We wanted to experience the route in its original character, so we purposefully read minimal route beta (we did read about the descent, however), armed with little more than the vague knowledge of three progressively more difficult towers and a summit headwall.
We parked the night before at the trailhead near Whitney Portal. We had overheard some issues with bears entering cars for food, so we painstakingly removed all food, toiletries, cookware, and scented objects from the car and put them in the bear bins. Around 10:30 pm, we awoke to a noise coming from the top of our car and the car shaking slightly! A bear was on top of our car! I banged on the ceiling and flashed our lights, causing the bear to go away. A few minutes later we heard another car’s alarm go off. The habituated bears in California are incredible! Kylie did not sleep well the rest of the night unfortunately…
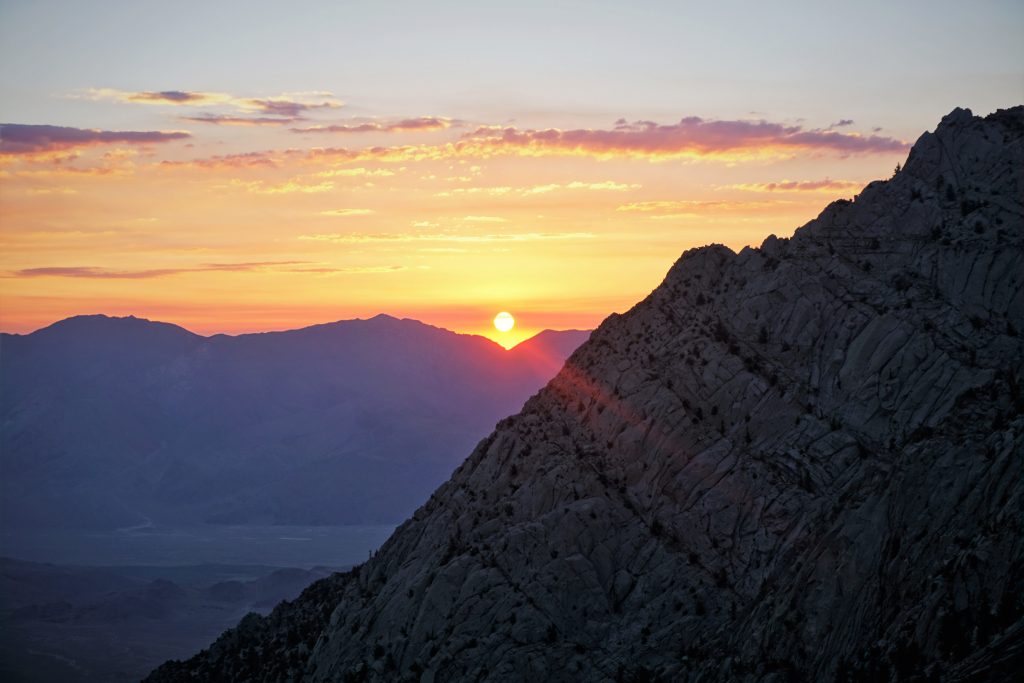
We started from the trailhead in the dark and made our way up the Meysan Lake Trail. We were treated to a lovely sunrise over Owens Valley and the lower North Ridge.
We knew we were supposed to scramble up to the ridge at the notch before the first tower, but from the valley, it was unclear what was the first tower. We ended up finding a climber’s path up to the ridge lower down and then scrambled easy 3rd class to what we guessed was the first tower and the beginning of the route proper. We soloed up the first tower with a few easy low 5th moves.
We couldn’t find an easy way down off the first tower however, and ended up making a few little rappels. Unfortunately, we only brought a thin 30 m rope so we had to do a second rappel off some flakes. As we climbed back up to the ridge to the notch before the second tower, we noticed another party downclimbing off the first tower in a different direction. Apparently they found a 4th class way down closer to the crest. We chatted with them. One guy had done the route twice before, so we offered to let them go ahead, but they graciously let us keep the lead.
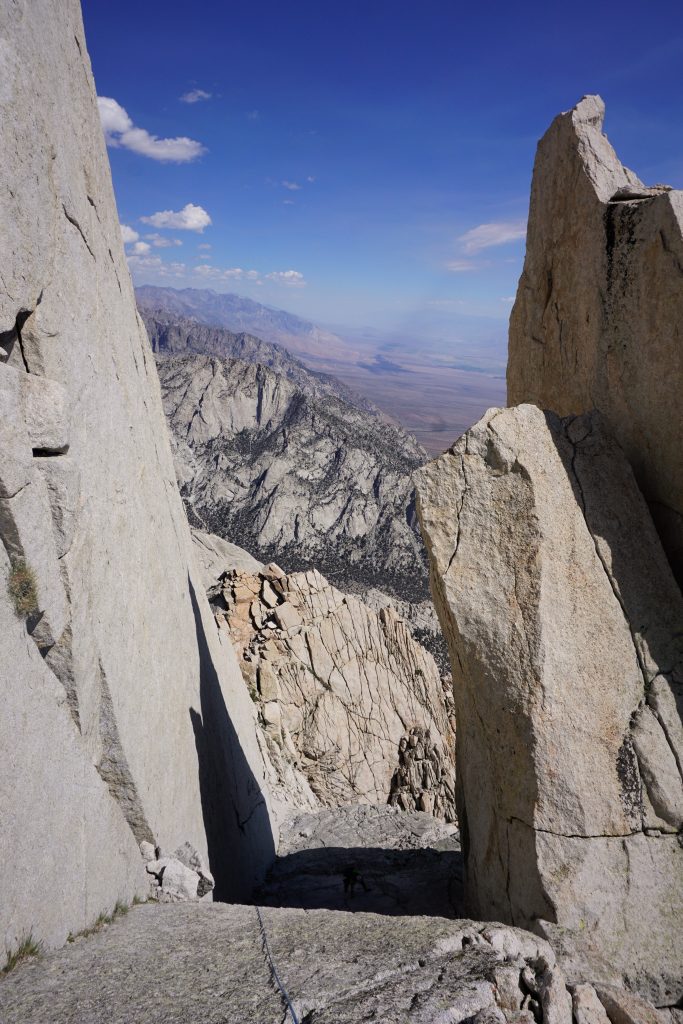
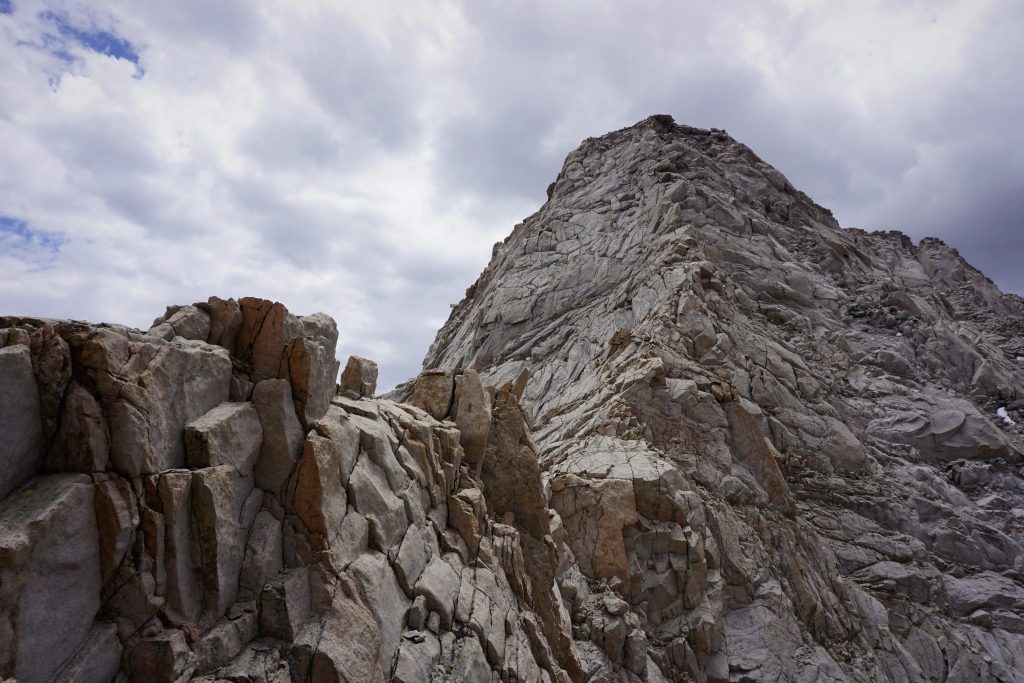
We traversed right and roped up for the second tower, doing a series of short 20-30m leads over mostly low 5th terrain. We had read about some 5.7 off-width on the second tower, but never encountered anything over 5.4. We crested over the ridge and met face to face with the most incredible flake! It was probably 60 ft tall and formed an ominous gateway, giving us passage around what we figured was the 3rd tower.
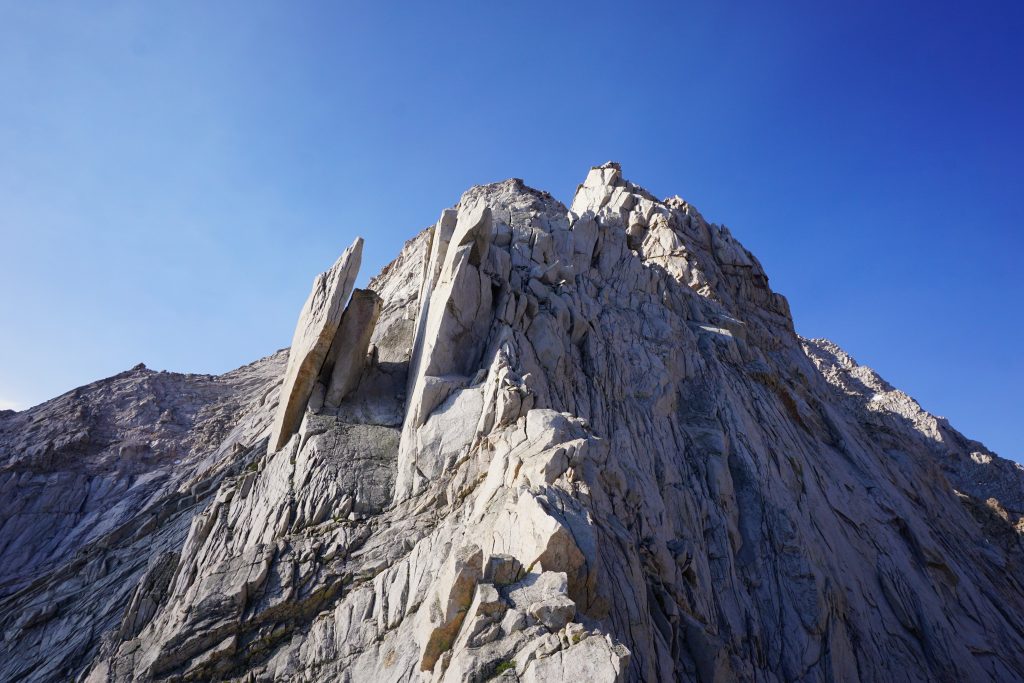
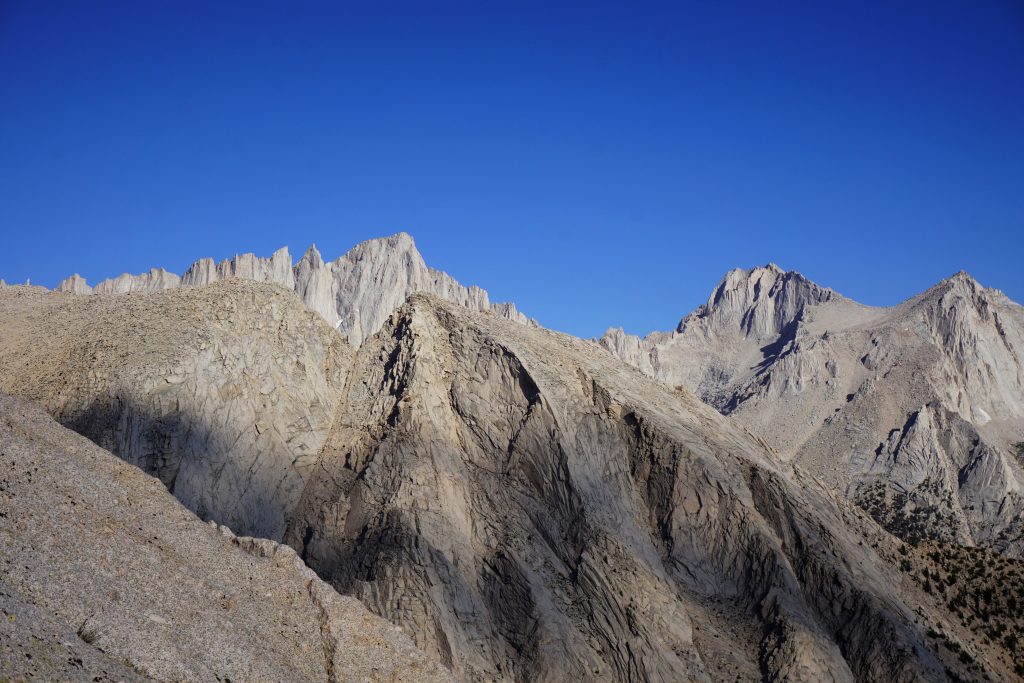
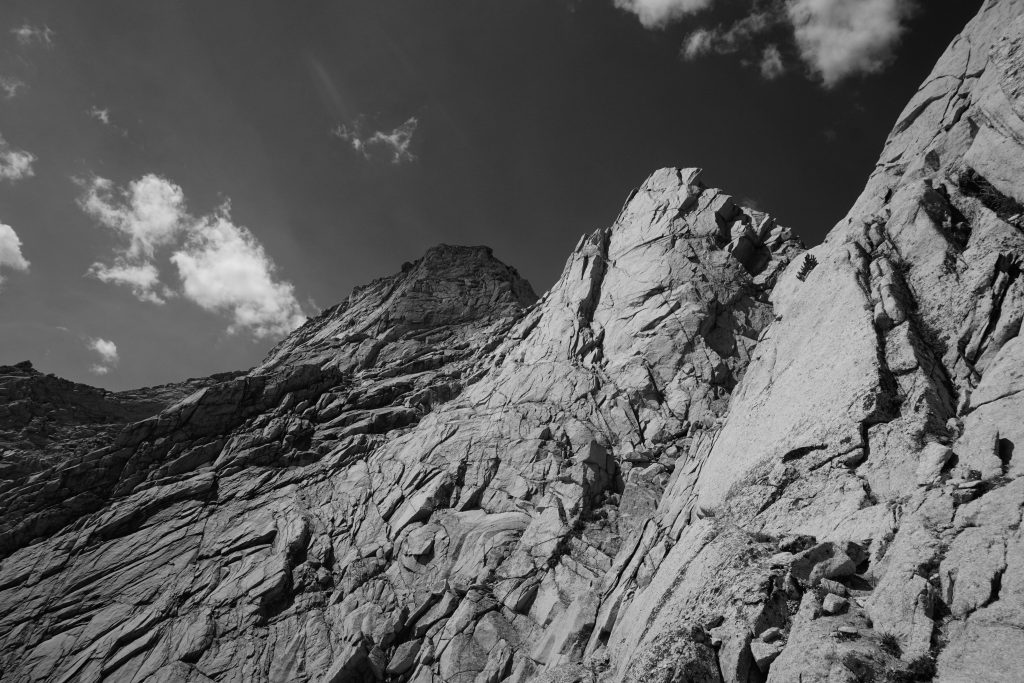
After rounding the corner, we got our first few of the summit headwall. However, we realized that there was yet another, even bigger tower before the final headwall, a fourth tower! We had thought there were supposedly three distinct towers, but maybe the first little one was not actually one of the “towers”. Or the second and third towers were really just one tower. Regardless, we realized getting past this next tower would probably be the crux of the route. It looked like we could go way down and left to get around, but that would be no fun. So we instead scrambled up to the notch at the base, traversed right slightly, and found a line that looked good.
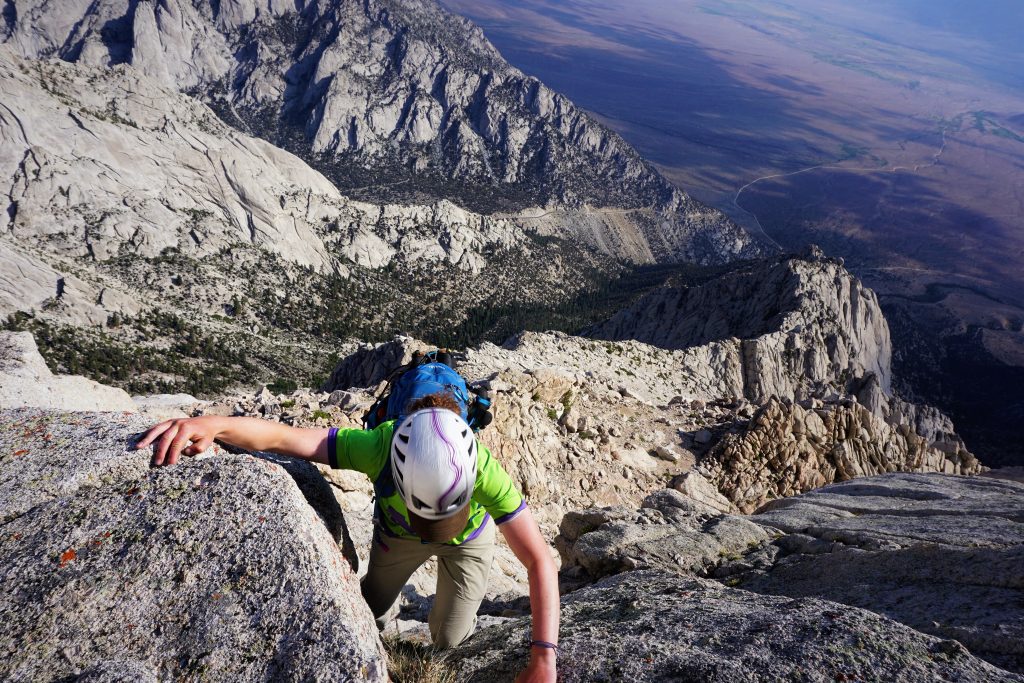
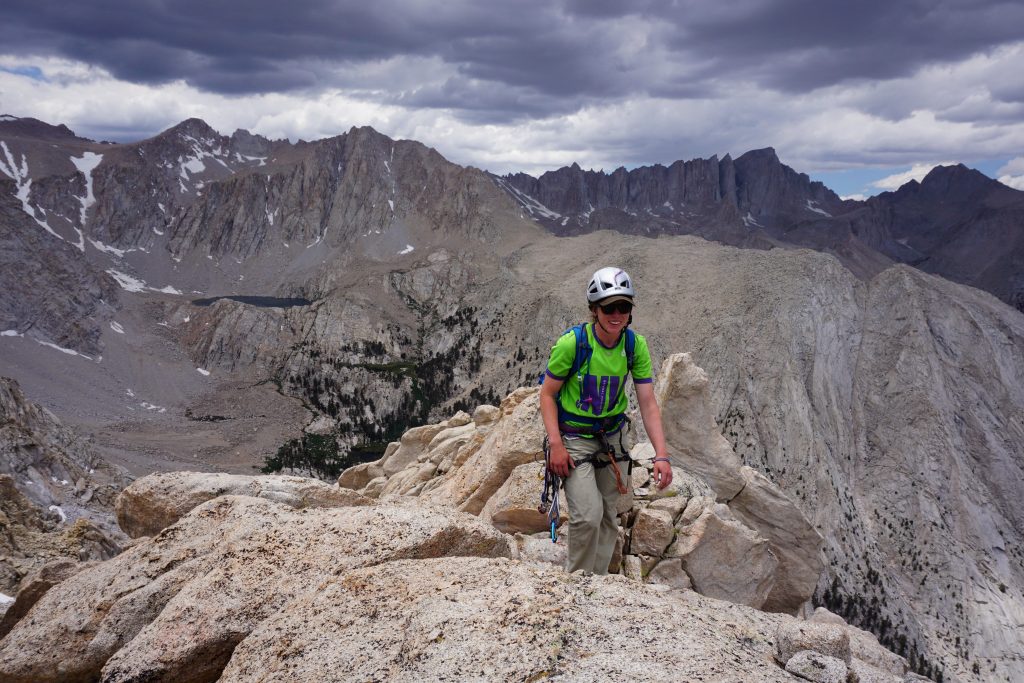
I led through a few fantastic pitches. There were two distinct 5.7 liebacks that were pretty committing and definitely beyond 5.5. They both had pitons to clip, which was reassuring since we carried a very minimal rack of just a few cams, tricams, and nuts. Surprisingly, we were leaving the other party in the dust, which was strange considering they had done the route before. But it seemed that they were pitching much more of the route than us, which is not very sustainable on a climb like this that might be 25-30 pitches in total length. At the top of the tower, we had great views of the Whitney Area and down to the town of Lone Pine. Puffy clouds were forming, but there were not any thunderstorms in the forecast.

We attacked the summit headwall on the left. After a surprisingly difficult boulder problem to get off the ground, we cruised to the top in two long simul-pitches of 4th and low 5th class, placing nearly every piece of gear I had. We topped out mid-afternoon, having completed the infamous route in about 7 hours!
Walking down the backside, we felt like we were on a different planet. It was flat, sandy, rocky, totally monochromatic, and completely void of vegetation. We could have been on Mars for all we knew. As we approached the descent gullies, we made sure to take the FURTHEST LEFT gully. It was easy to see how people could get drawn into the many other gullies, all of which eventually end in steep chossy cliffs. The correct descent gully was typical awful Sierra choss, but not too bad with poles.

Down in the valley, we found the trail and hiked out, reaching the car about 16 hours after we left in the morning. This was the last of our big one day Sierra rock climbs, and definitely the most epic! It reminded me of the West Ridge of Stuart (5.6) because of its complexity and length, but it is definitely a step up in terms of length and technicality! It was truly a route where our skills shined: route finding, simulclimbing, efficiency, and scrambling. It’s not a route I would recommend to everyone, but for the right person, it is wholesome alpine bliss!
Notes:
- We used a 8mm 30 m rope, which we felt was sufficient because we simulclimbed and soloed much of the route and shorter pitches allowed for better communication.
- It is fine to gain the ridge lower than the first tower, as we did. This was probably easier scrambling.
- The number of towers is confusing and I imagine any topo is difficult to follow on this kind of route, so you really have to just trust your intuition. You must be solid on route finding.
- From reading mountain project comments, it seems like no one really finds a way to keep the whole route at 5.5. Expect 5.7 at least.
- Make sure you take the correct (left most) descent gully!
- This is not the route for someone who needs to pitch out every 4th and low 5th class pitch. If you do this, expect a few days, not hours, on route.